|WHAT’S UP? - view the most recent release notes
|ATTENTION - we are in the process of updating our SMARTLY instructions
For more detailed instructions for getting started with updating your dashboard with SMARTLY, visit [ARCHIVE] smartly sub-2.0 - #5. Instructions for setting up SMARTLY-INJECT (the smartly companion) look below.
SMARTLY 2.0 featuring SMARTLY-INJECT!
It was said that adding a Drag-and-drop interface to the built-in HUBITAT Dashboard was impossible, but by way of a great collaboration between @markus and @spelcheck, this is now not only possible, but EASY to use.
SMARTLY-INJECT was designed in conjunction with SMARTLY 2.0. SMARTLY-INJECT can be used without using SMARTLY, but features will be limited.
For a detailed step by step guide with illustrations, please visit us here
Ultra-quick guide to update your JSON with SMARTY:
Go to https://hubitat.ezeek.us/smartly
- MAKE A BACKUP of your dashboard JSON [just copy it into a text file].
- Copy and paste your HE Dashboard ‘Layout JSON’ into the green box.
- Click ‘update’.
- Click ‘copy to clipboard’ and paste back into your HE Dashboard ‘Layout JSON’.
- ‘Save JSON’ and refresh (or when using HE app, back out and click back into your dashboard).
Fine fine, I know SMARTLY. What’s next?
Introducing SMARTLY INJECT
THE SMARTLY COMPANION
While we were ironing out the last few kinks in the SMARTLY-INJECT pre-release and getting screenshots and videos ready, we were listening and we heard you. We put extra effort into building additional functionality that you can take advantage of in the newly released Smartly 2.0.
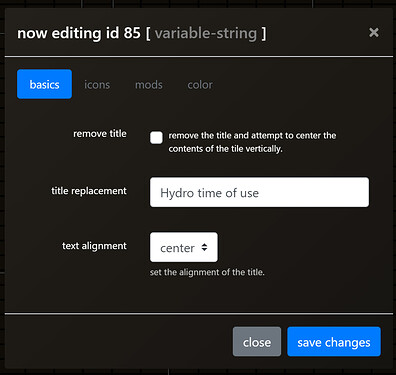
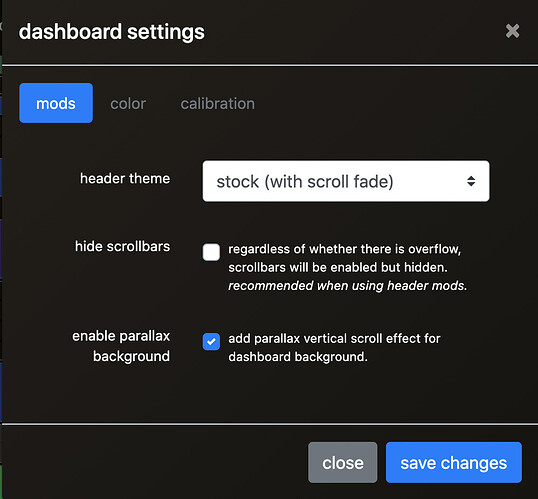
- Parallax background effect is available to give your dashboards the depth we’ve been missing. [requires SMARTLY to enable]
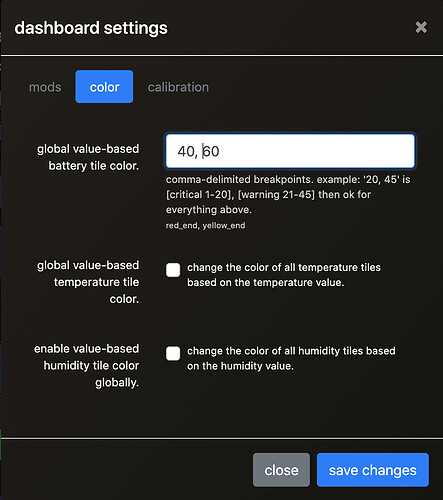
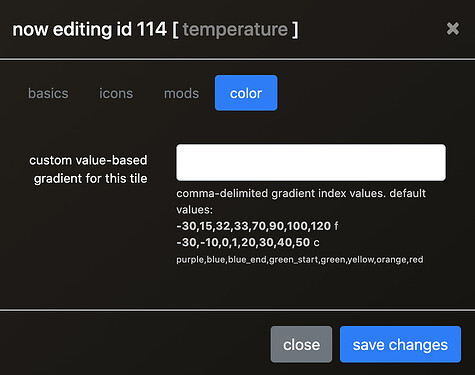
- Temperature and humidity tiles can be enabled dashboard-wide and tile-specific using @techmedx gradients using cutting edge chroma.js library. [ requires SMARTLY to enable ]
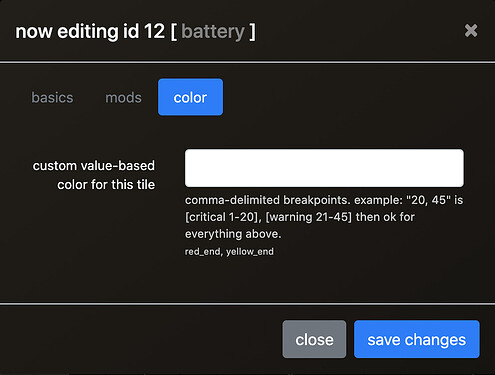
- Battery tiles can be configured dashboard-wide and tile-specific using concise thresholds for RED/YELLOW/GREEN. [ requires SMARTLY to enable ]
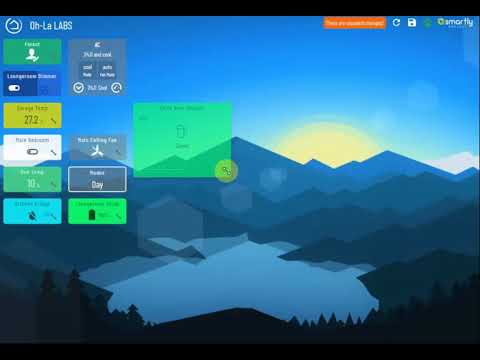
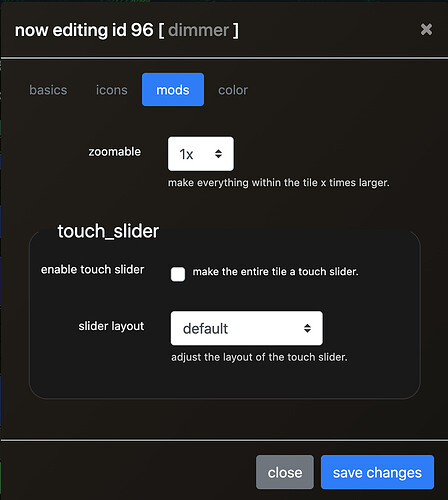
- DRAG and DROP interface [ included by default ]
- Root-tile div auto-classing [ included by default ]
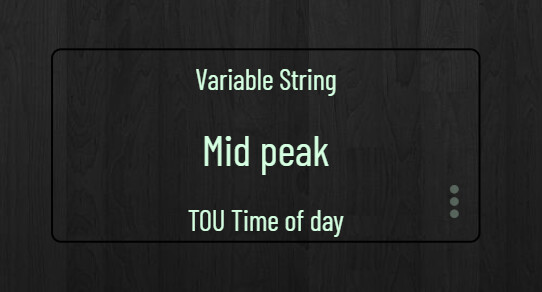
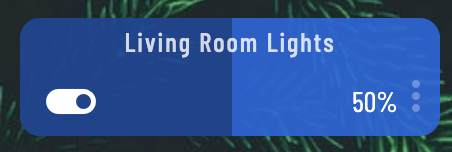
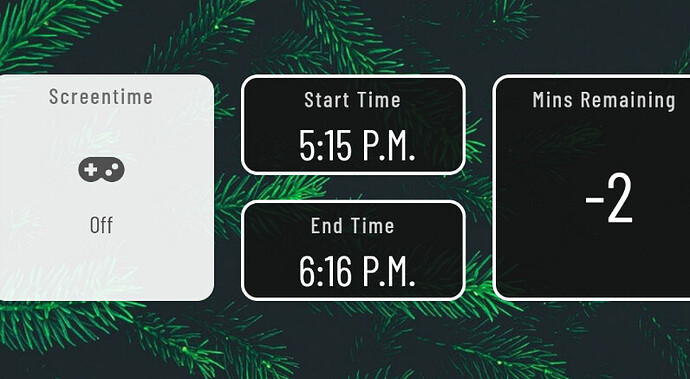
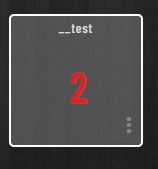
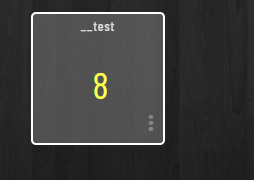
– Tile state and level (where applicable) are now injected as classes into the root tile-div! - Dashboard name injected as Page Title [ included by default ]
Sounds great, how do I start?
|1. INSTALL the DRIVER - The Smartly Inject Driver
To use this feature you need to install the " Smartly Inject " driver. [We recommended using HPM] to install this driver from @markus’s repository, but you have two options:
- [Install using HPM ] (recommended) - When using HPM you will receive automatic updates to the driver but also the latest JS and CSS files, automatically installed into the hub File Manager so that it runs 100% locally.
- Manually - You can install the ‘Smartly Inject’ driver manually, but you won’t receive updates automatically and you will need to install the Support Files manually within the hub File Manager (below). The ‘Smartly Inject’ driver code is is located here. Support Files here .
When visiting your dashboard via the cloud, the supporting files will be accessed remotely at the [100% donation-funded] smartly project servers at AWS.
|2. ADD the DEVICE - Create the virtual device, add the JSInject tile
Once you have the driver, create a Virtual Device with this driver and add that device with the “javascript” attribute anywhere on your Dashboards. The tile for this device will be hidden once active so it will not clutter your Dashboard.
|3 … PROFIT
You’ll now see a ‘paw’ icon next to the other icons on the top right of your dashboard. Click the paw to enable DRAG and DROP. Click the save icon to save, the Reload icon to reload from the current dashboard, and the Paw to exit.
Technical Details
The “magic” behind this integration all starts with some Javascript inject by using a virtual device driver. This combined with some additional code inserted automagically into the JSON of the Dashboard is what kick starts the integration.
![]()






 happy to hear!