I needed a project that would trigger a mode with my smart Qi chargers.
Smart meant that it would trigger a change in my smart home. Well, I’m back for another round. This one is version 2.0. I enlisted the help of my Dad and husband (they ran the saw) and came up with something that looks a little more like something that needs to sit on a table somewhere and a lot less like something with a timer that goes boom.
I used some of the same equipment as I did in the first post as I think I bought a gazillion buttons just to use two. So, this project also includes one small square button.
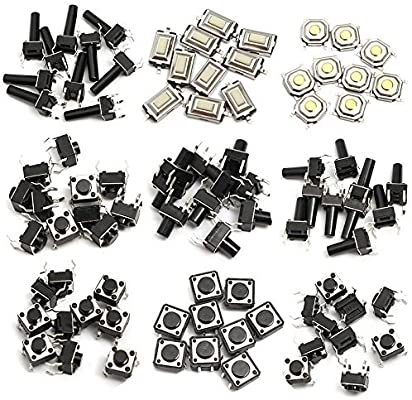
WINGONEER 140pcs 14 Types Momentary Tactile Push Button Switch Micro SMD SMT…
I also used this contact sensor becuase it has the two external contacts needed to make the project work. You do have to puch a small hole in the end to run the wires.
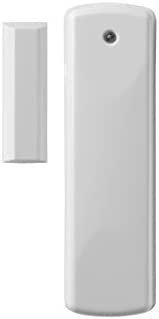
Amazon.com : Z-Wave Plus Rare Earth Magnets Door & Window Sensor, White…
I ordered this qi charging pad from amazon.
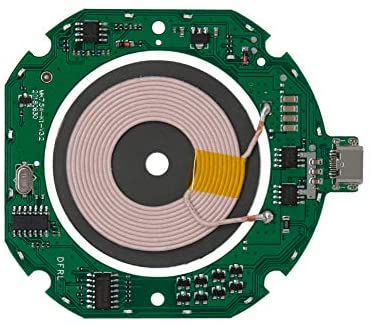
Amazon.com: 7.5W 10W Qi Wireless Charger: PCBA & Coil Transmitter Module…
It does not come with a cable or plug. Please read the reviews as I found that this is a bit picky on power, but I did not have any issues using an existing usb-c cable and a phone fast charging plug.
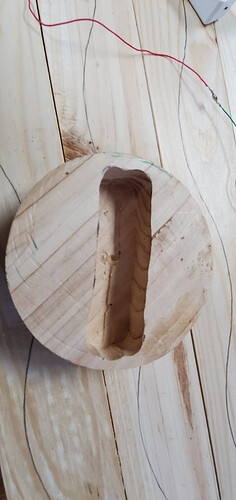
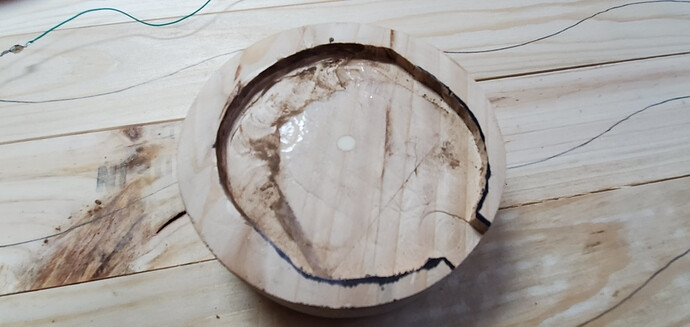
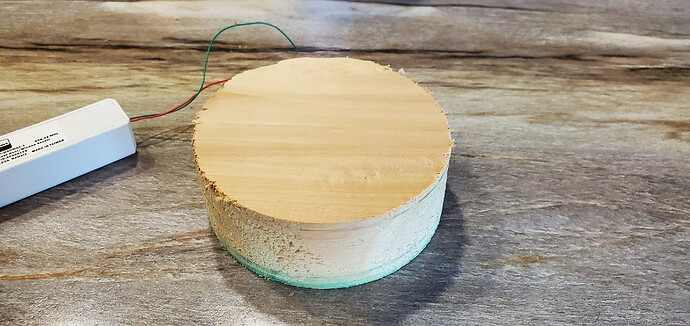
Using a 4 1/2" hole saw cutter, we took our chunk out of a piece of 2x6 pine. We pulled the drill bit from the center after we got it started so that the hole did not go all the way through the top. I took the time to do some sanding on it at this point so that I didn’t put the components at risk later after they were installed.
We cut a 1/4’ slice off to replace after concealing the qi charger under it.
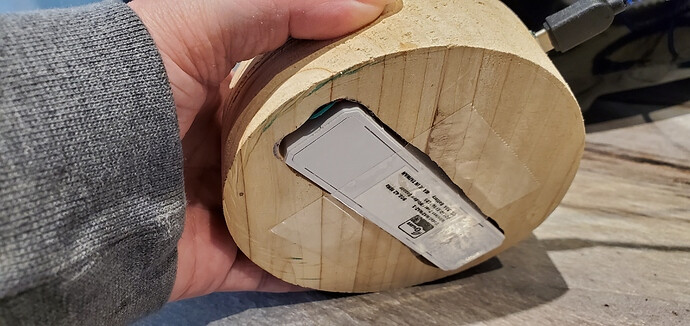
We then traced the shape of the qi charger in the top of the base and traced the shape of the contact sensor in the bottom. We carefully set the router to be just barely past the exact depth of the charger and cut out the void that we traced. We ended up taking more material out to be able to better adjust the charger to be more centered in the piece. We flipped it over and did the same with the contact sensor. Taking just enough material for the bottom of the sensor to be flush with the bottom of the piece. (The button will offset it a bit and allow for the “press” you need to activate the sensor. It’s important to pay attention to how deep you are cutting as the finished project only has about 1/4 inch of material left in the center to separate the contact sensor and charger. I filled the drill hole in the center with wood glue. I wanted to place the button in the center and that interfered with that placement.
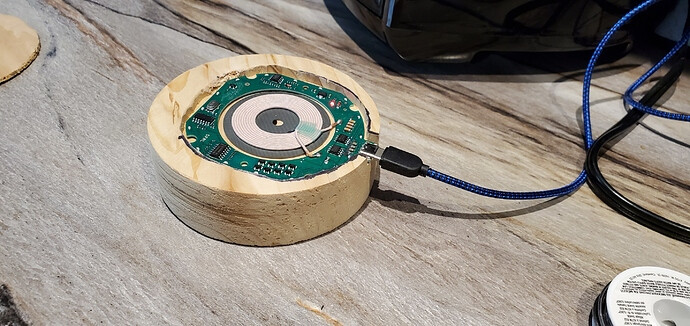
After a final sanding of the rough piece, I seated the qi charger in the void, I secured it with two tiny screws and used a tiny dab of super glue to secure the charging plate to the bed of the wood.
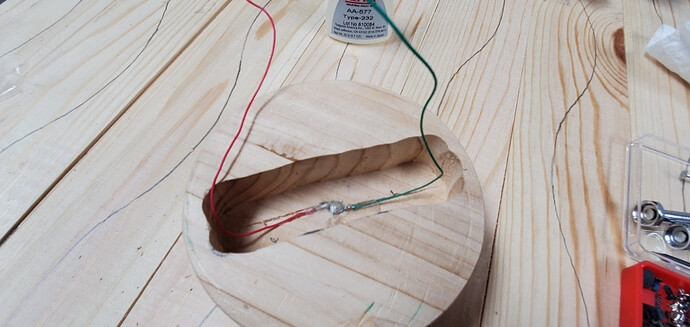
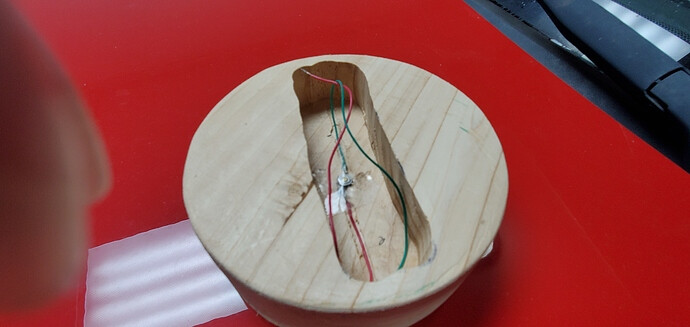
I used a dremmel to cut shallow grooves for the wires to sit so that there was not a wobble issue with the piece after it was assembled. I soldered the wires to the button. Opposite connectors and made sure there was enough wire included to be able to remove the sensor to change the battery. I secured the button to the pice with some tape. I find that glue messed with the connections. Once it’s together, it’s not somthing that is visible anyway.
After I got the button placed, I did a rough fit to make sure that it all worked, did some final sanding with the components out, replaced then glued the top back to the piece with a thin layer of wood glue. Careful not to get any inside of the cavity where the charger sits.
I taped off the opening to the charger to avoid getting anything foreign into the void. I had to do some sanding on the top to blend it to the sides of the piece.
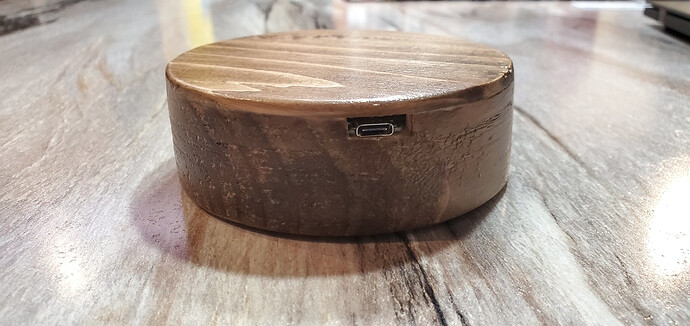
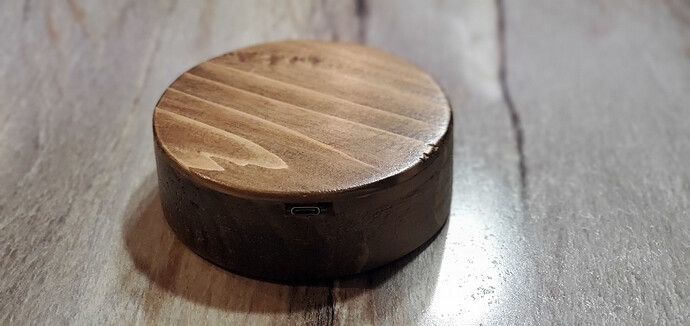
Once I was happy with the look, I applied some stain and poly and changed my rules to the new piece. It’s been 3 days and I haven’t had any issues with heat. The LED lights on the charger do glow through the opening. They’re not super annoying, but I think I’ll find something to fill that in. I’m just not sure what yet.
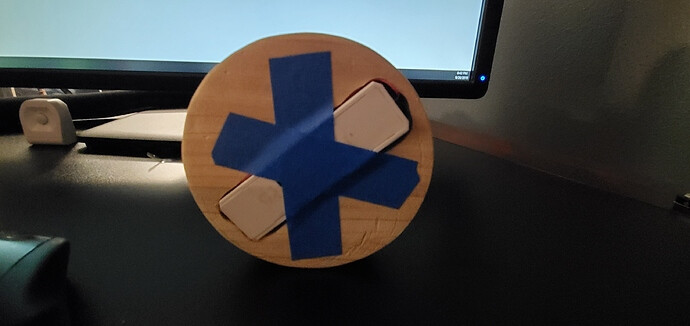
I didn’t finish the bottom of the charger and left the sensor secured with painter’s tape. I didn’t want to over complicate it in case I had to replace a battery. I feel like if I buttoned it up too much, it may become unstable if I had to dismantle it for a battery.
The reason I started this project was because I didn’t want to ask alexa to turn off my lights. We like our house to interact with us. Now, when we dock our phones at night, a series of rules fire according to the status of the two qi chargers bedside. It’s helped to keep things effortless in our home. We love the anonymity of things just happening in our house. It keeps our visitors intrigued. Also, it gets you, as a reader of this project, to think outside the box a bit. Enjoy.